The short answer
A DIY kit can produce a genuinely clear lens. What it usually cannot produce is durability, because the UV coating in a consumer kit is thinner and the sanding is done by hand, which leaves a less uniform surface for it to bond to.
Expect two to six months from a kit without a good sealant, six to twelve with one, and one to three years from a professional restoration with a proper UV coating at $149 a pair.
The honest comparison
| DIY kit | Professional | |
|---|---|---|
| Cost | $20 to $40 | $149 a pair |
| Time | 1 to 2 hours of your time | About an hour, not yours |
| Clarity on day one | Good if done carefully | Excellent |
| Durability | 2 to 12 months | 1 to 3 years |
| Risk | Sanding surrounding paint, uneven finish | Low, paint is masked |
| Repeatable | Yes, but each pass removes lens material | Yes, with the same caveat |
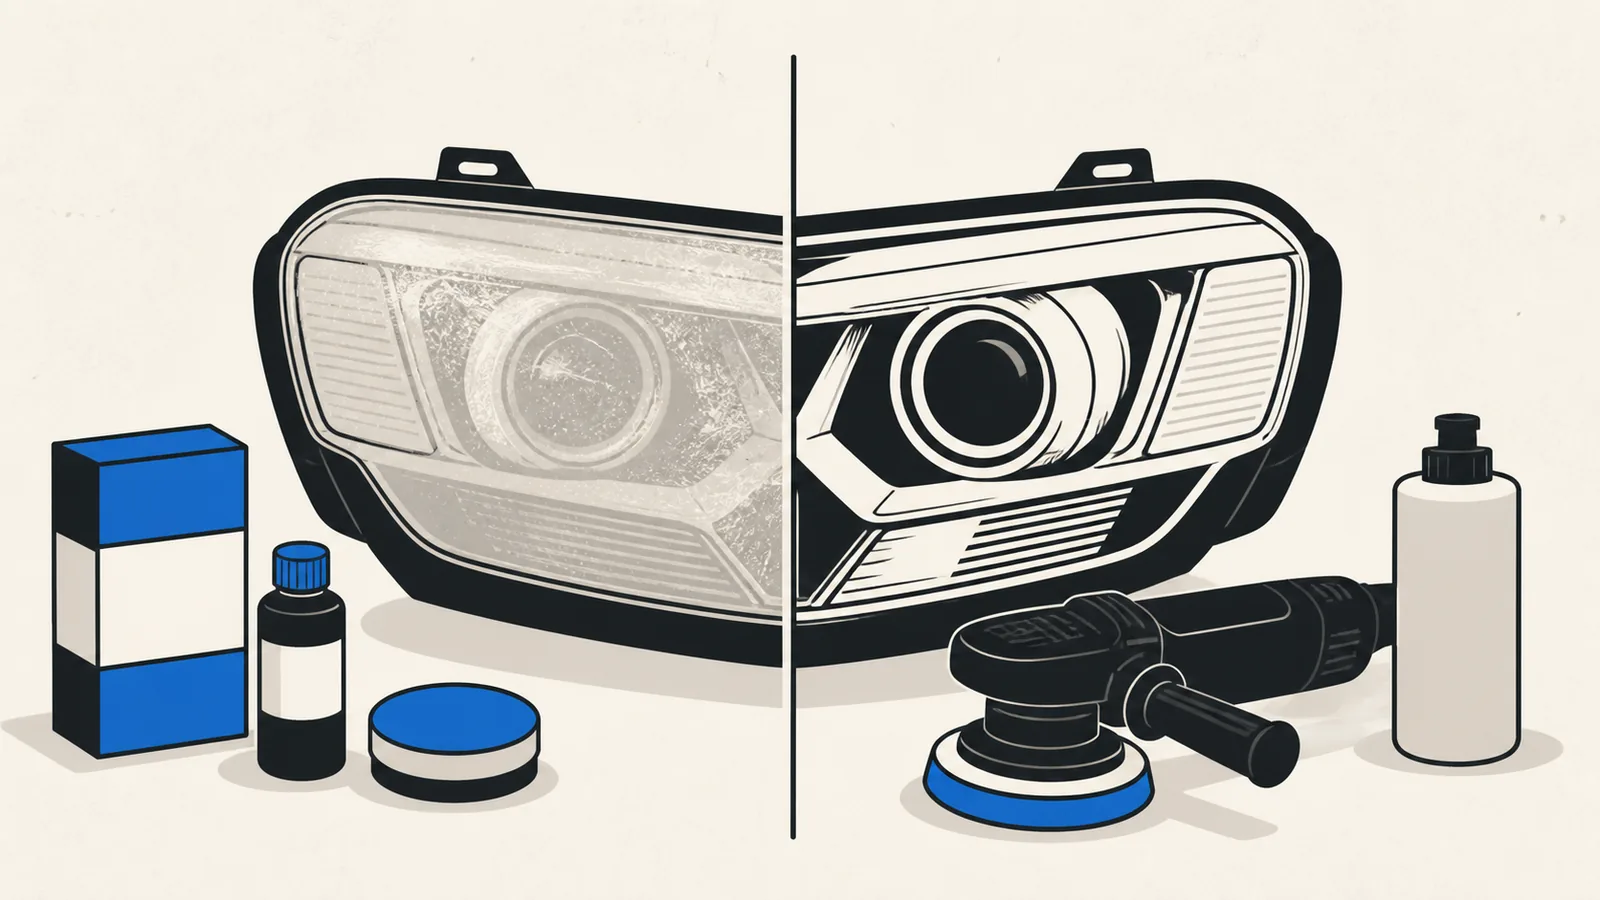
DIY kit versus professional restoration
If you do it yourself
- 1Mask the surrounding paint properly with tape. This is the step people skip and regret.
- 2Wet sand through every grade in the kit without skipping one. Skipping grades leaves scratches the next grade cannot remove.
- 3Keep the surface wet throughout and change the water often.
- 4Polish until the lens is genuinely clear, not just less yellow.
- 5Clean the lens with isopropyl alcohol before applying any coating so nothing is trapped under it.
- 6Apply the UV sealant in the shade and let it cure fully before driving in rain.
The durability is in the coating
The sanding and polishing are the visible part; the UV coating is what makes it last. Our restoration includes both, at $149 a pair, and can be added to any detail.
The safety angle
Oxidized lenses scatter light rather than projecting it, which reduces how far down the road you can see at night and increases glare for oncoming drivers. It is one of the few detailing jobs with a genuine safety component.
It also affects inspection in some circumstances and it is one of the first things a used-car buyer notices, because yellowed lenses make an otherwise clean car look tired.
The mistakes that make a DIY attempt worse
- Skipping a sanding grade, which leaves scratches the finer grades cannot remove.
- Letting the surface dry during wet sanding, which loads the paper and gouges the lens.
- Sanding onto the surrounding paint because the masking was rushed.
- Applying the sealant to a lens that still has polish residue on it, so it never bonds.
- Working in direct sun, which flashes both the polish and the coating before they can be levelled.
When a DIY kit is genuinely the right call
- On a car you are selling within a few months, where the result only has to survive the sale.
- On an older vehicle where the housings are already scratched and the goal is clarity rather than perfection.
- On a second or third vehicle that lives outside and will yellow again regardless.
- When you enjoy the work and want to learn the sanding sequence on something forgiving.
- Not on a car you keep long term, where repeated DIY passes remove more lens material than one proper restoration would.
This is an educational guide written to help DFW drivers budget and decide with confidence. It is not a binding quote. Your price is confirmed up front before any work begins, with no deposit.